how to apply press on nails
-

Magic Towel
The magic towel is used to remove excess glue during application. If you're not using glue, it can also be used to lightly clean your hands after application.
-
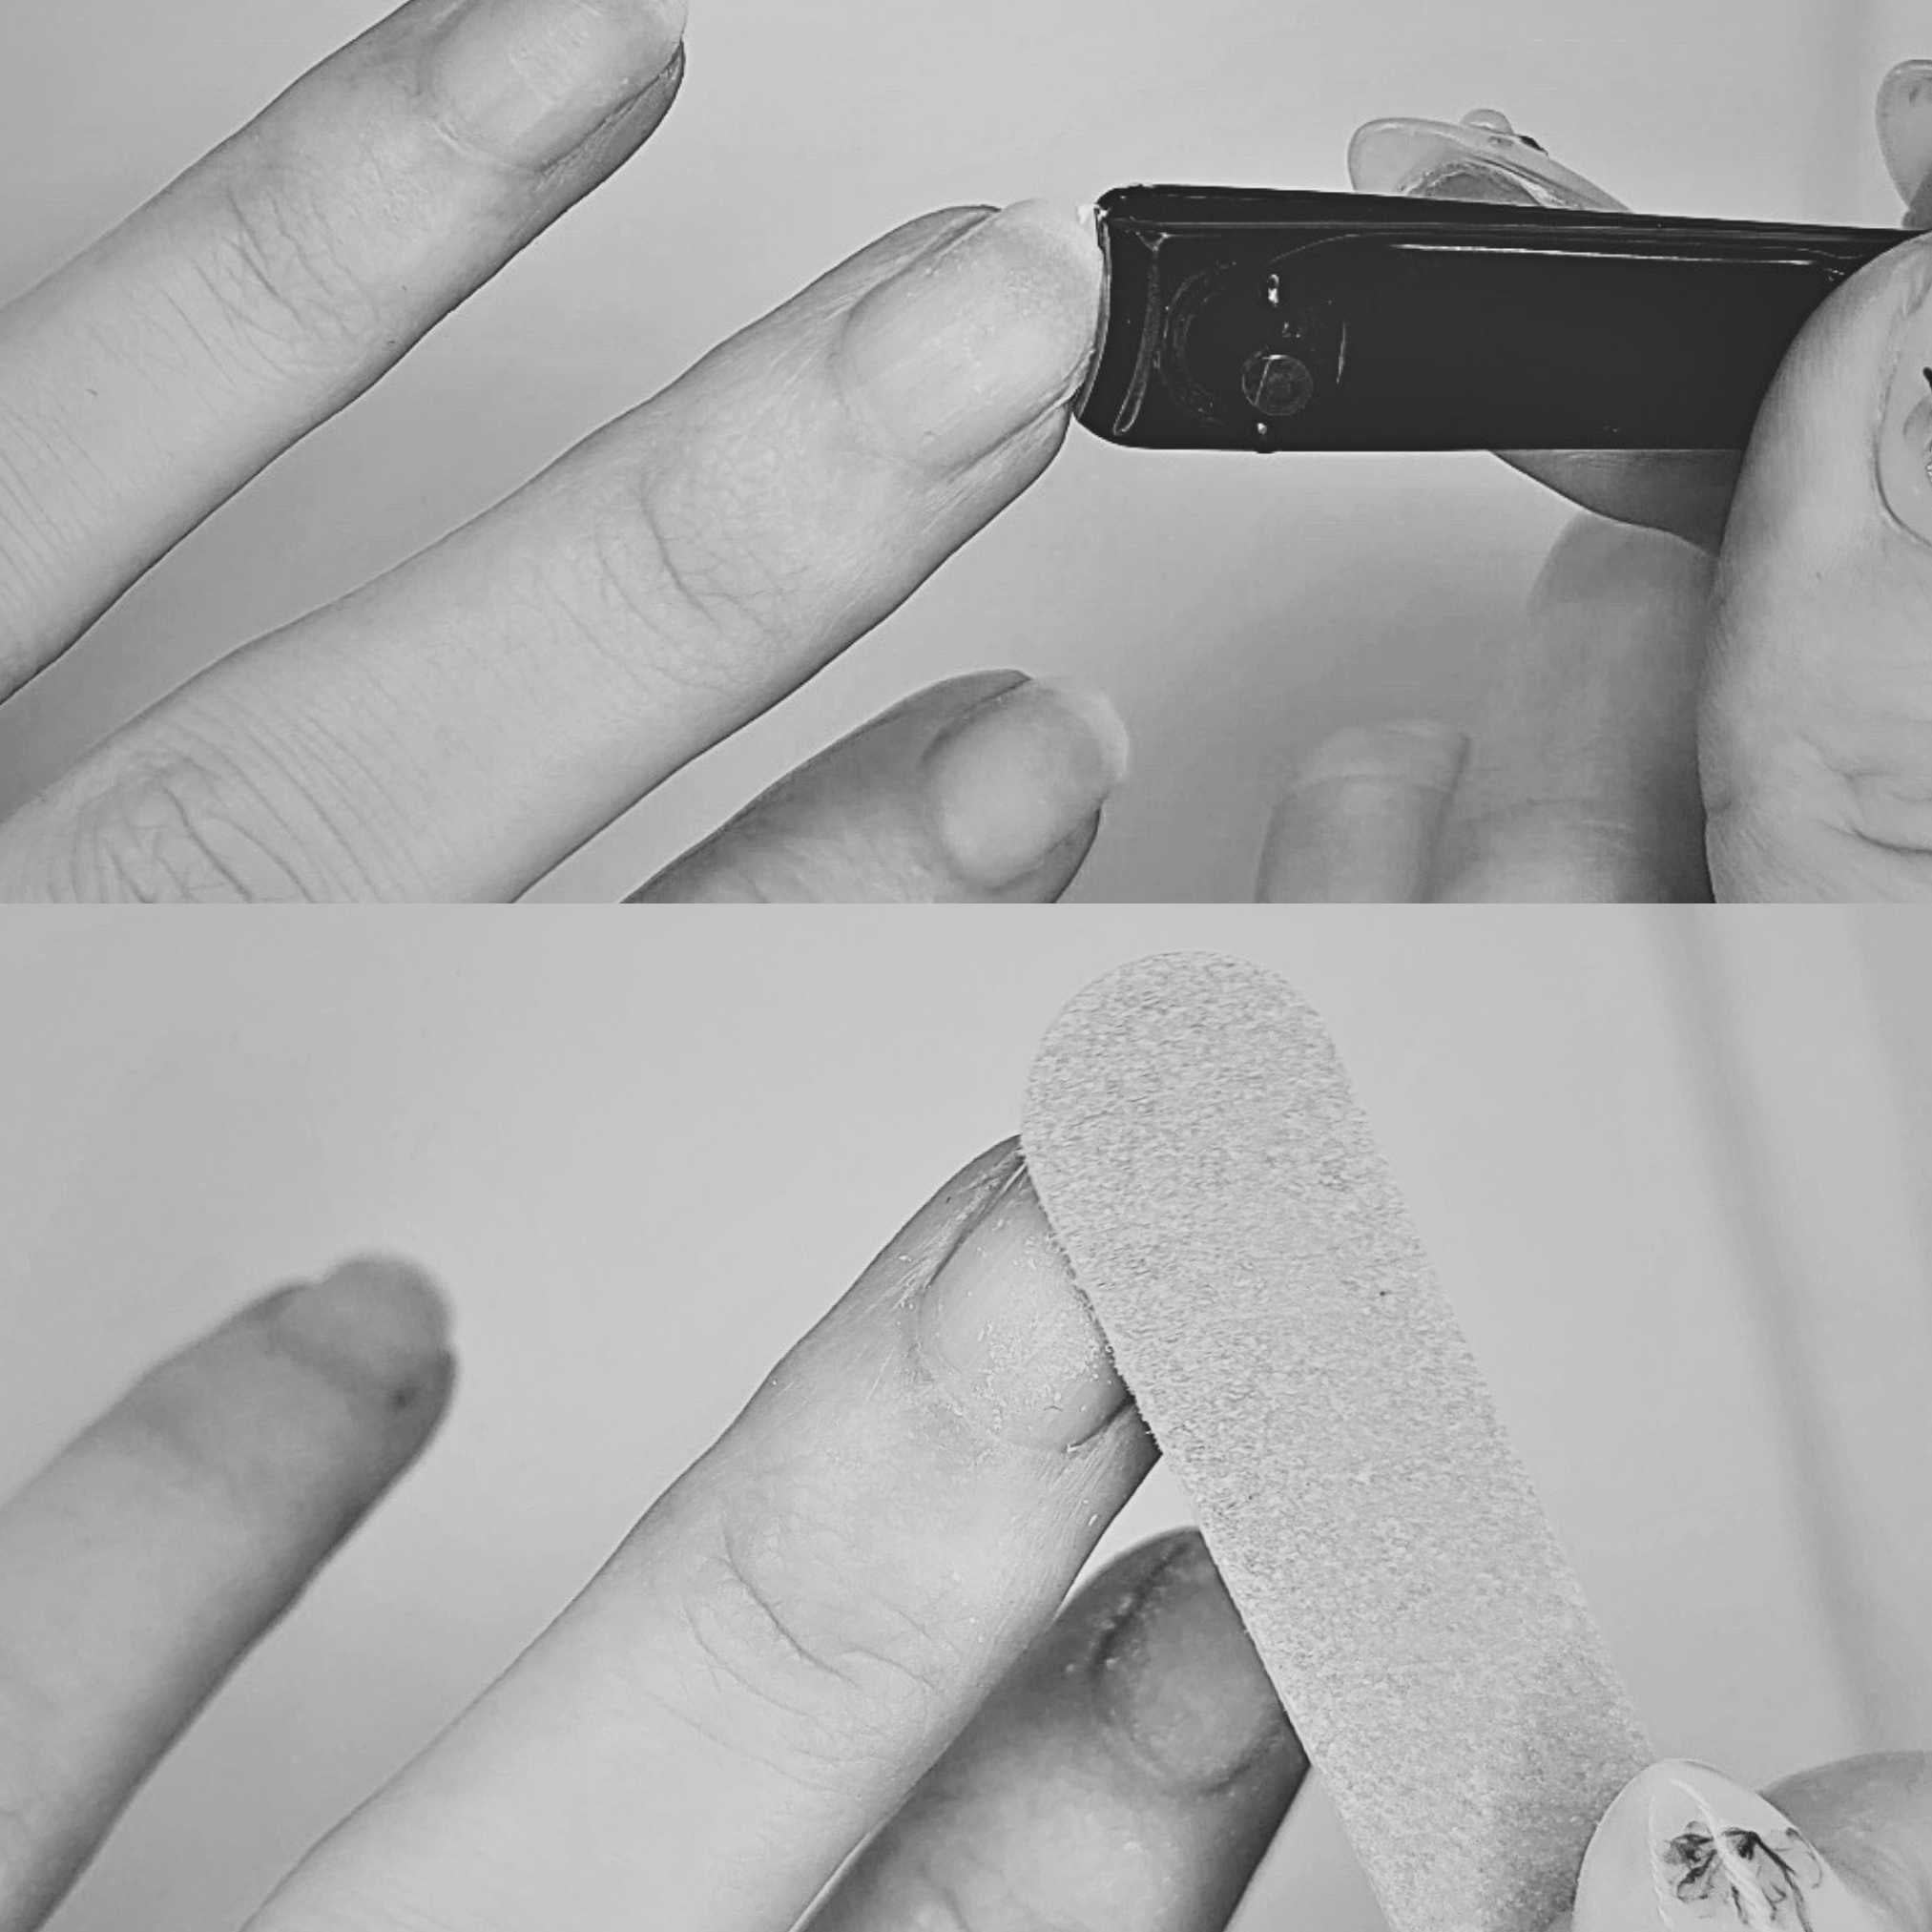
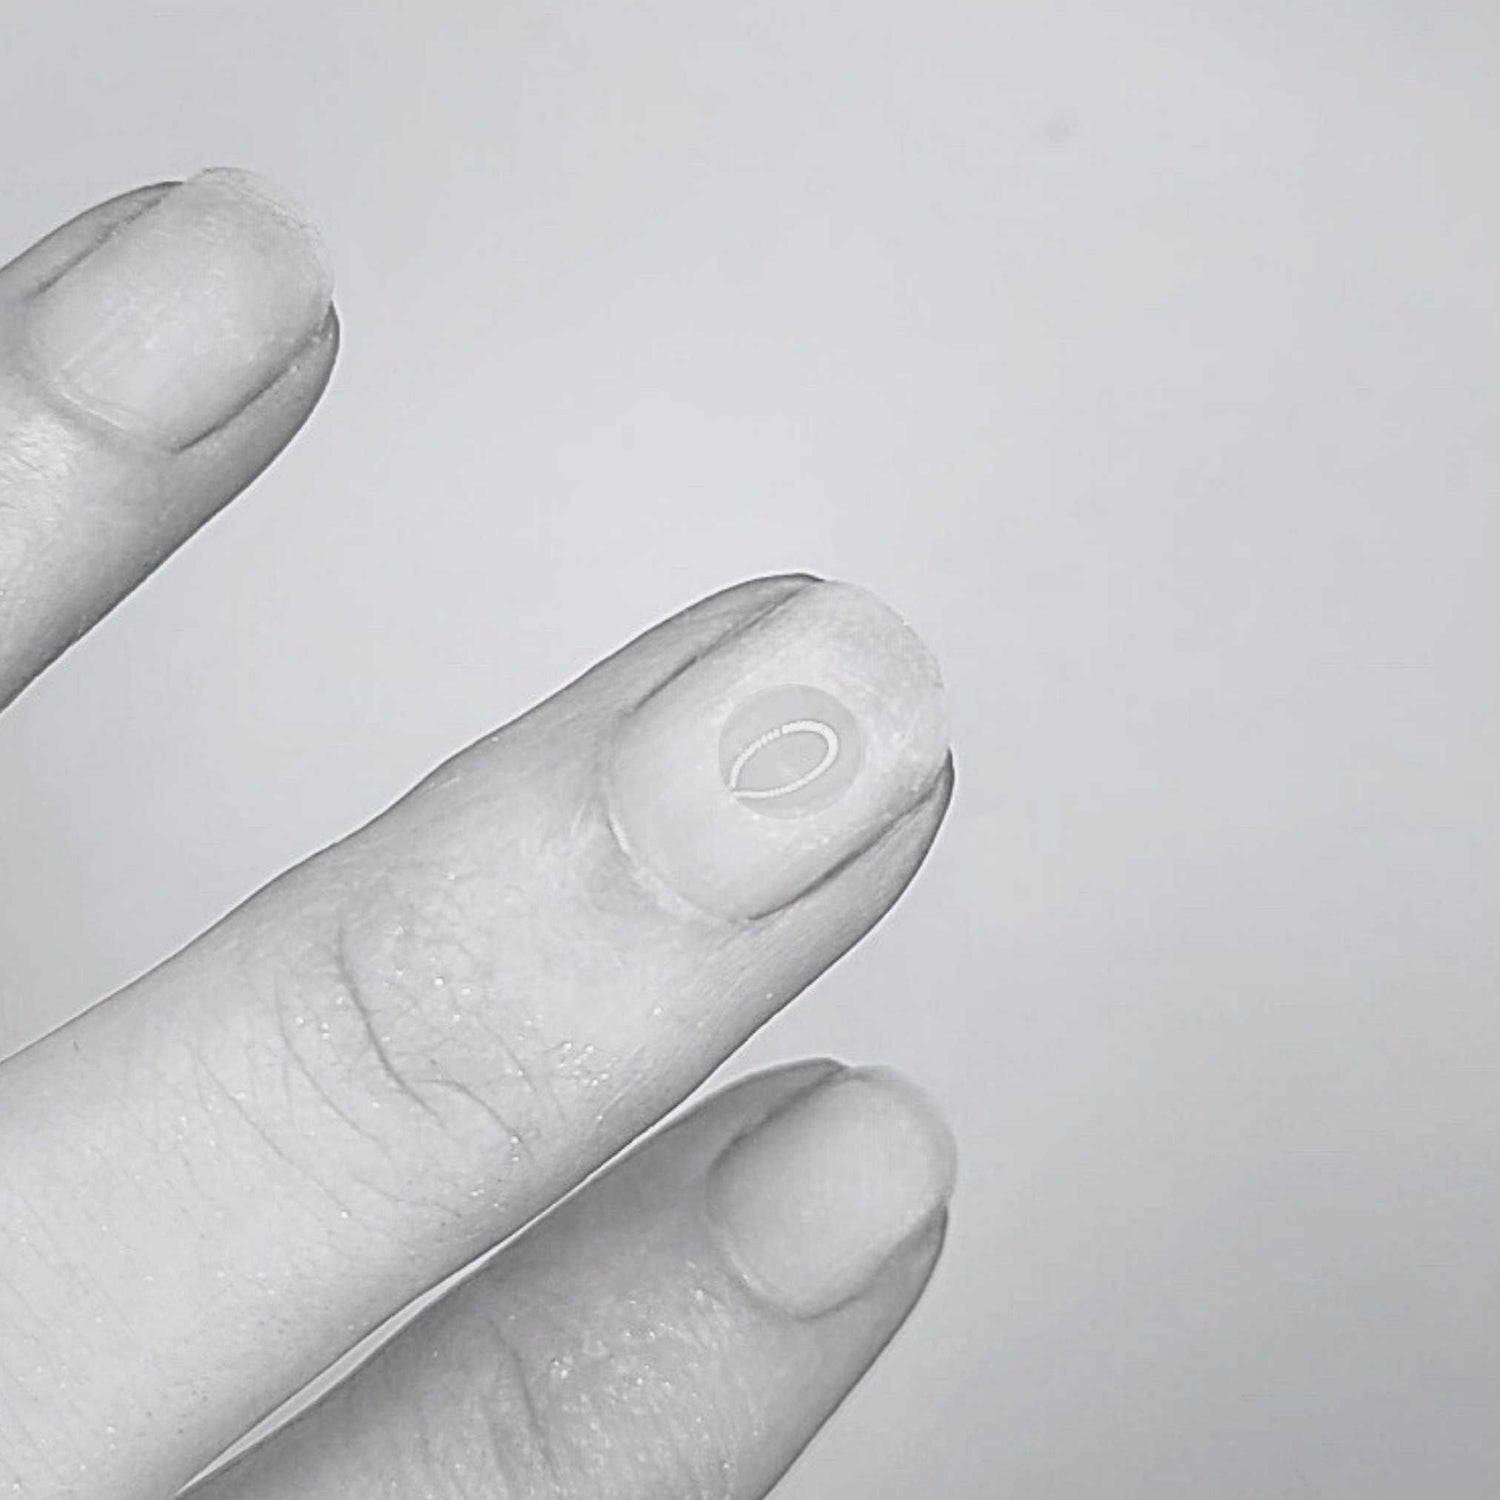
Step 1 | Trim & File
Trim your nails and file the top surface in an 'x' motion. This will strengthen the bond between your nails and the press ons.
-
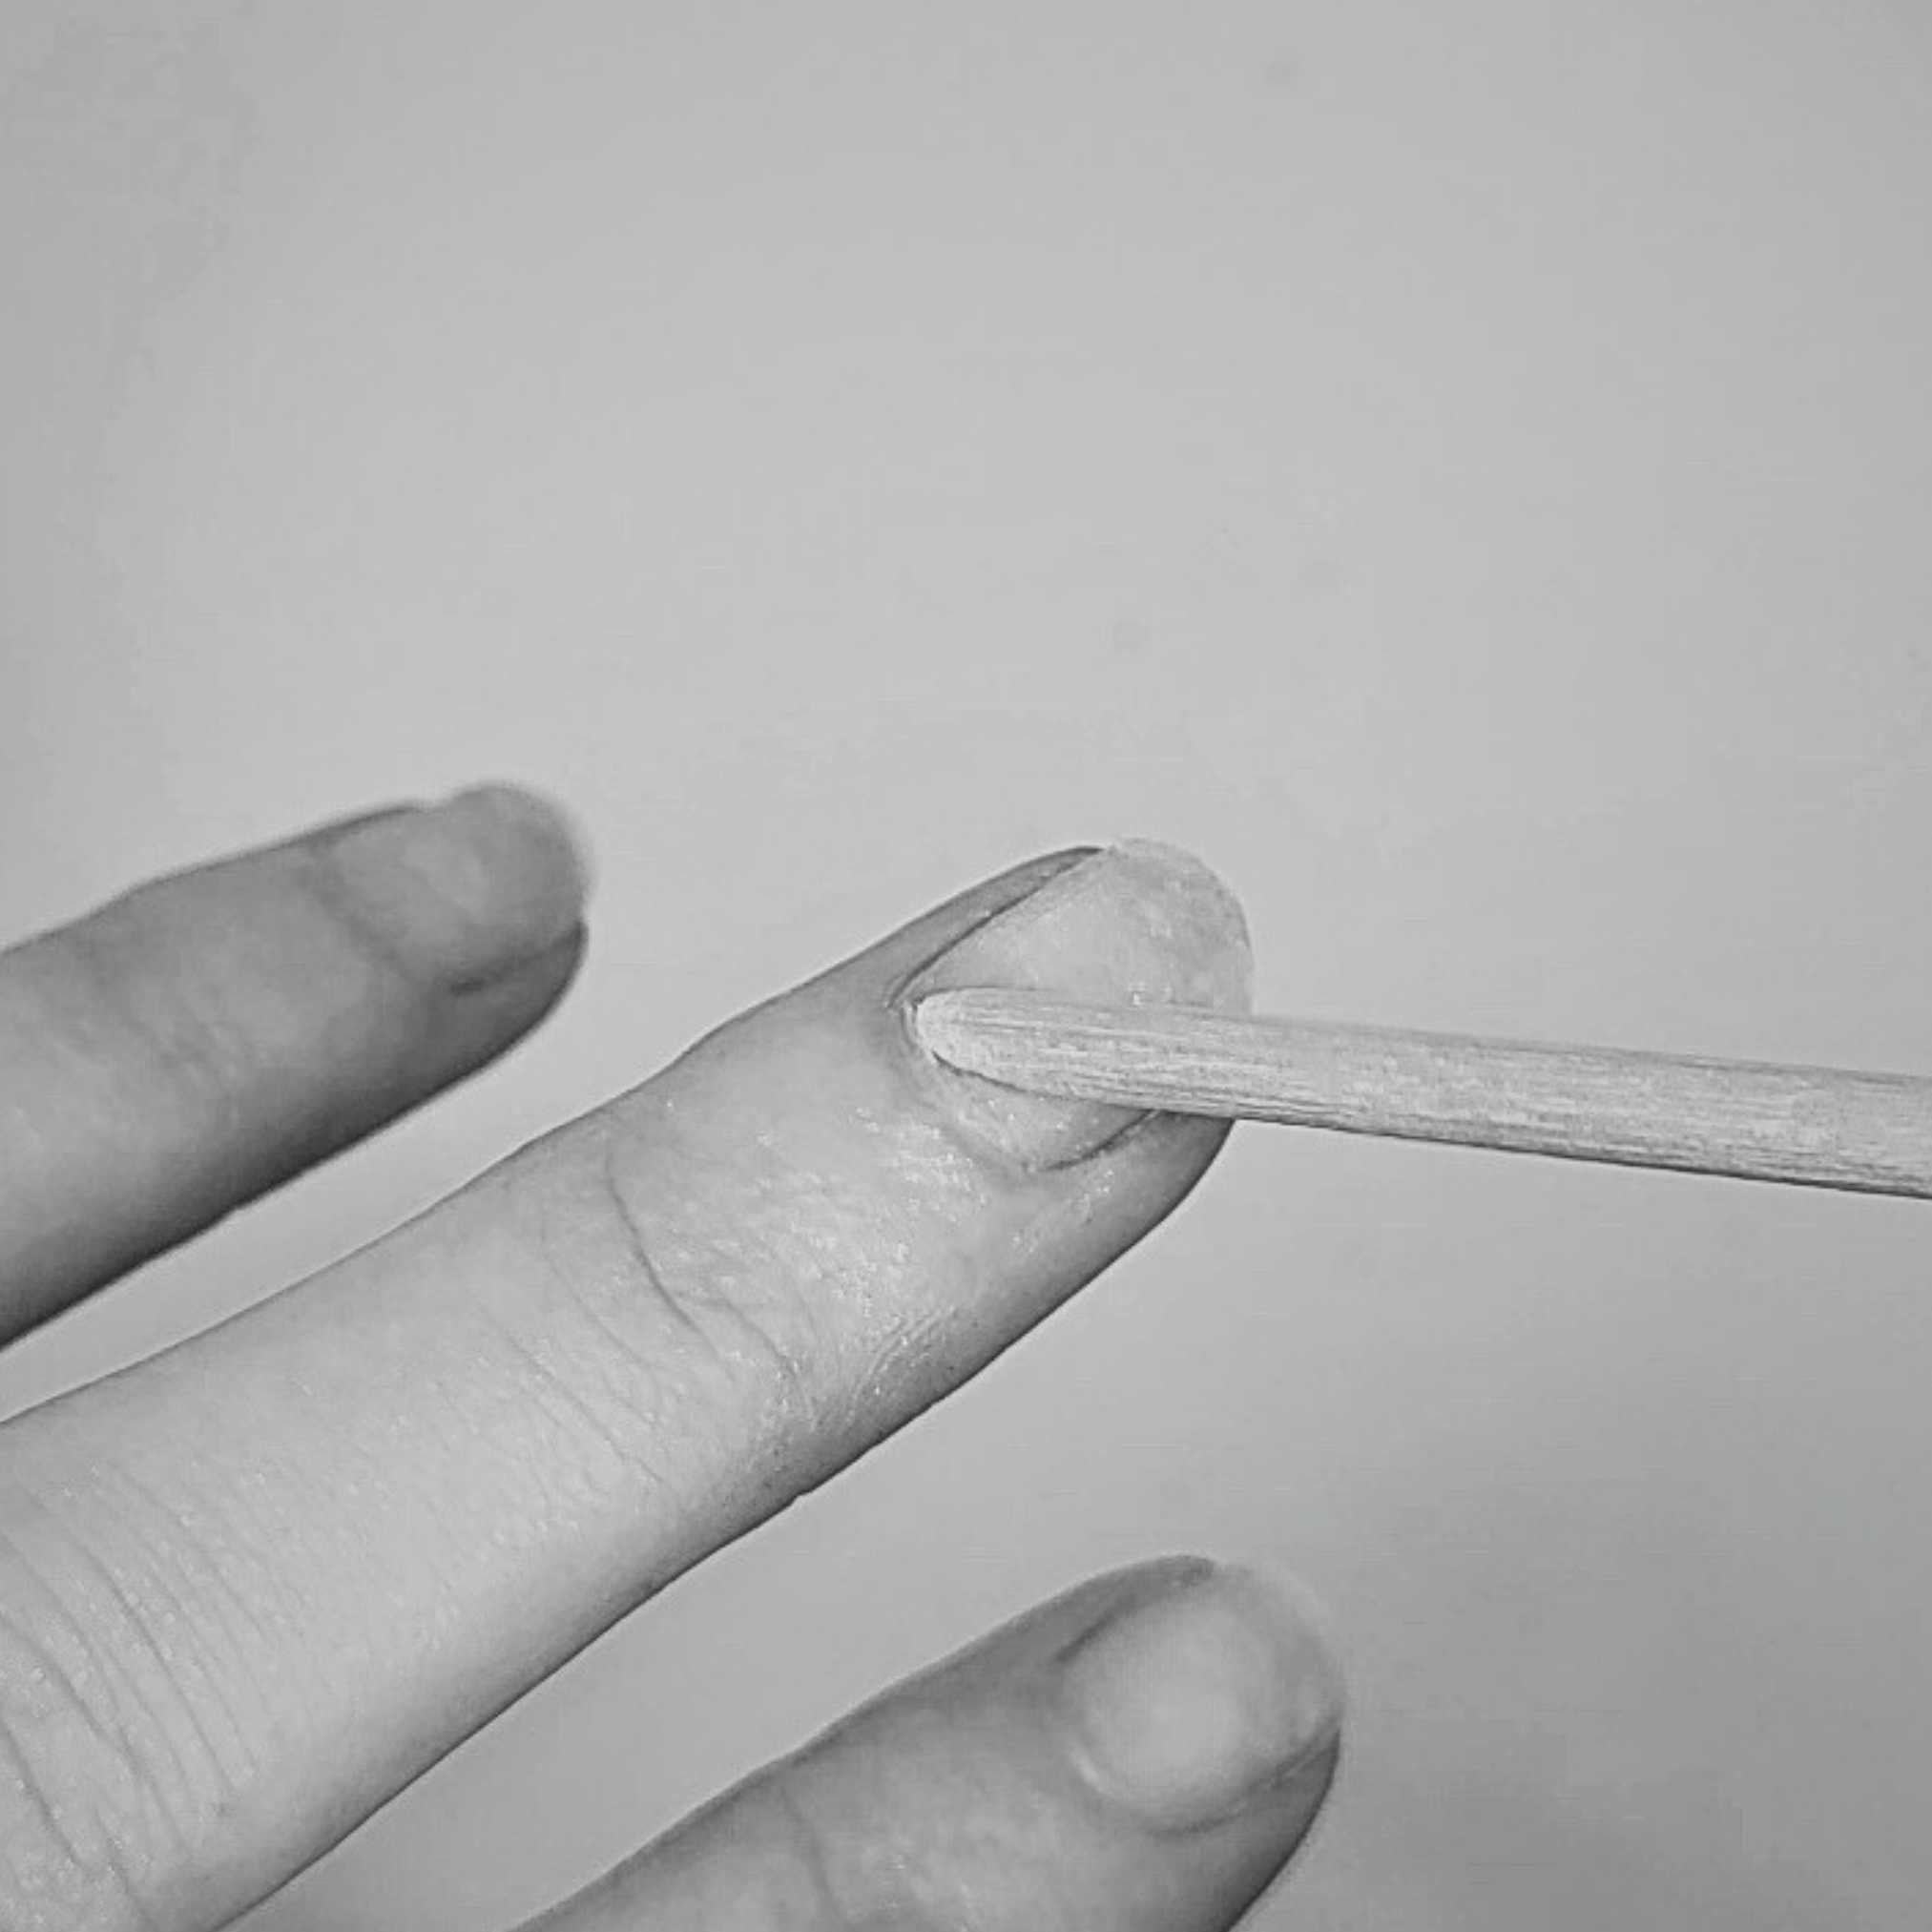
Step 2 | Cuticles
Gently push the cuticles back to create a clean edge.
-
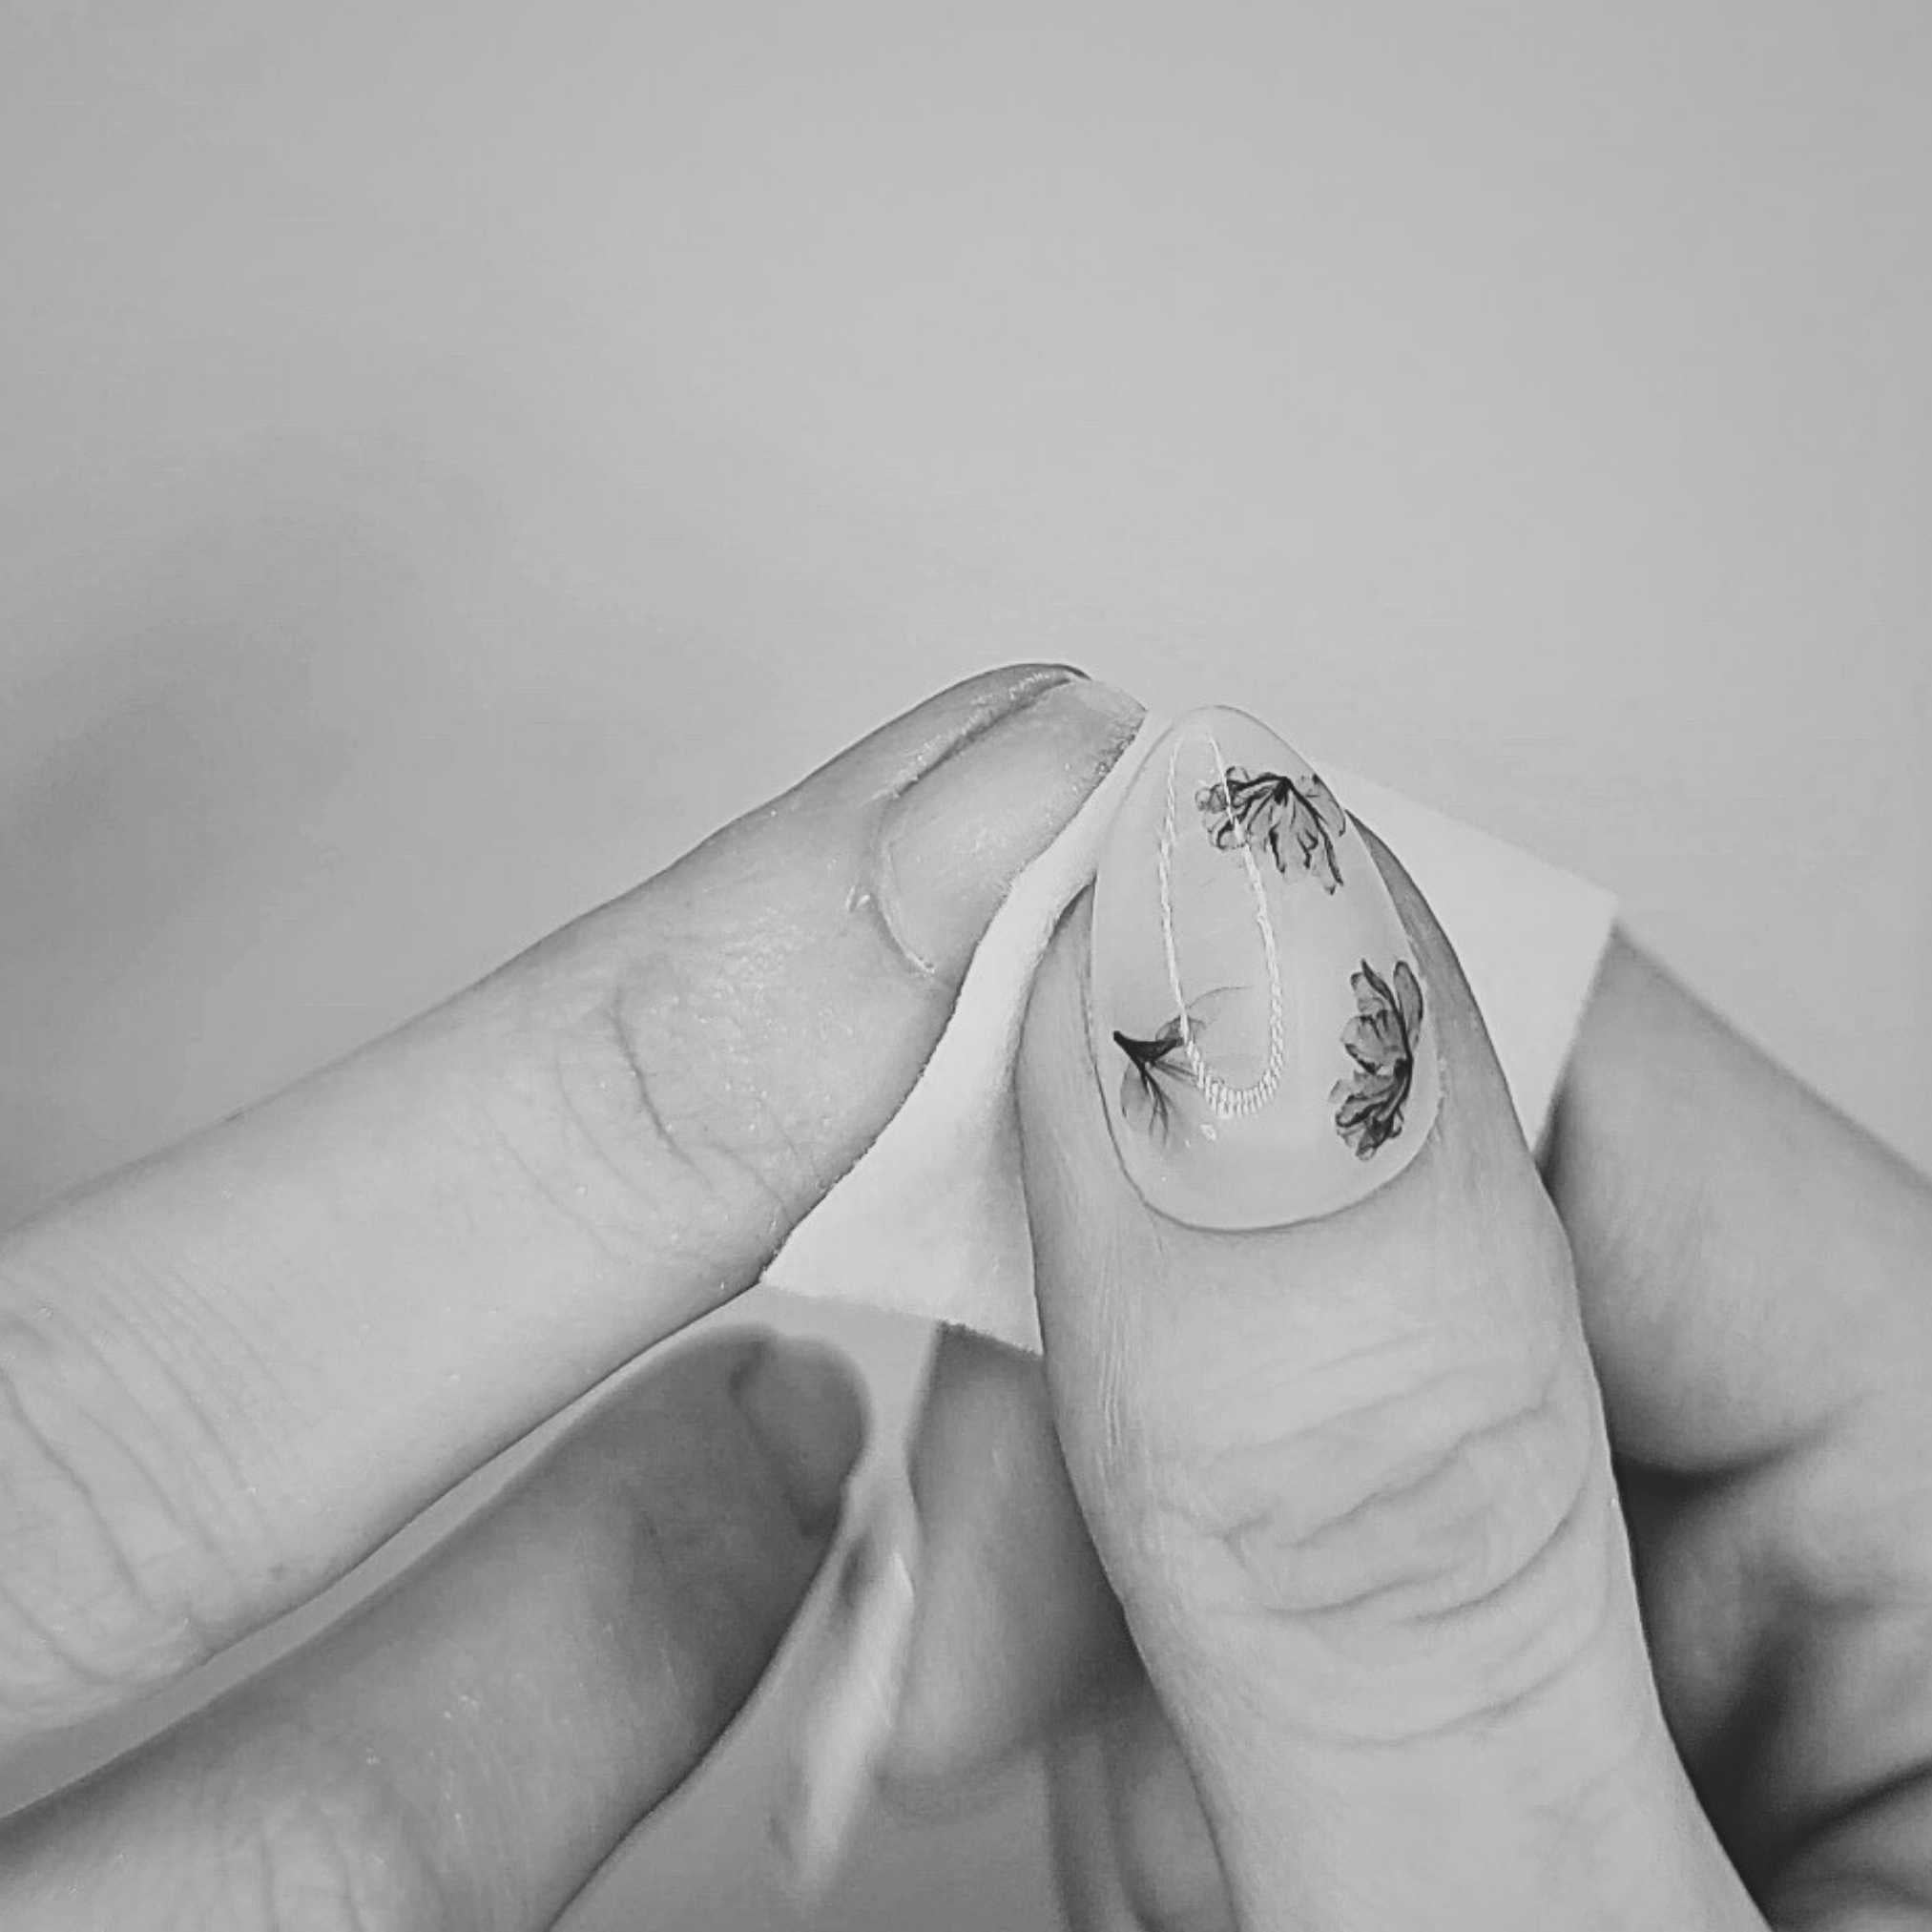
Step 3 | clean
Clean your nails with the alcohol wipe to remove any oil and dirt from your natural nails. Proceed below to step 4.


Step 4 | Select one of the following application methods
Adhesives + Glue
Glue
Adhesives
Longevity: 1-3 weeks per use
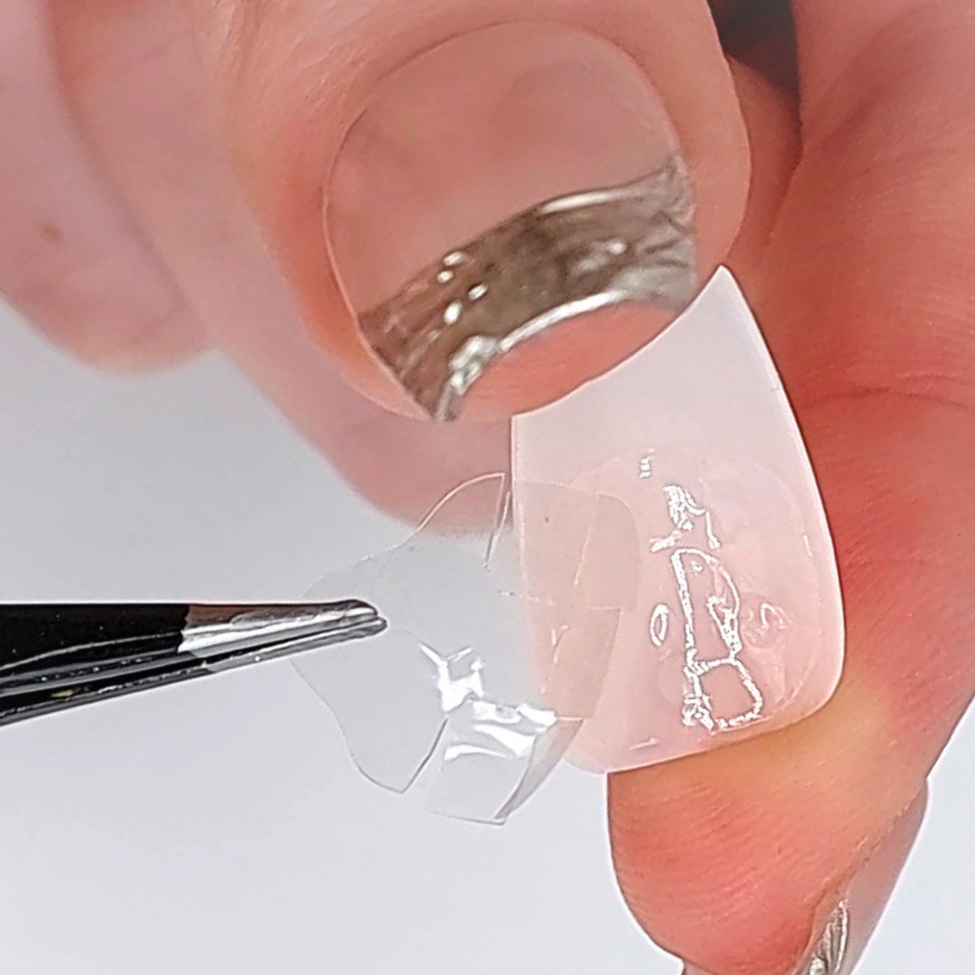
Step 4 | Apply Adhesives
4a. Prepare the magic towel by applying enough water for it to expand, ring out any excess water. The towel should be damp not wet. (This will be used to remove excess glue).
4b. Peel the adhesive tab off the sheet.
4c. Press the tab firmly onto your natural nail with the pull-tab at the tip of your nail.
4d. Peel the protective layer off the adhesive tab.
4e. Repeat these steps for each fingernail.
Step 5 | Add Glue
5a. Apply a thin layer of glue to the top of the adhesive tab.
5b. Place the press on nail onto your nail and press firmly, hold for 15+ seconds.
5c. Wipe away any excess glue with the magic towel.
5d. Wait at least 2 hours before getting hands wet.
The combination of glue and adhesive tabs is our strongest application technique. The glue adheres the FancyB nails to your natural nails, reducing movement, which allows the adhesive tabs to remain strong for longer!
The nails will hold for 1-3 weeks, sometimes longer depending on care and application.
Longevity: 1-2 weeks per use
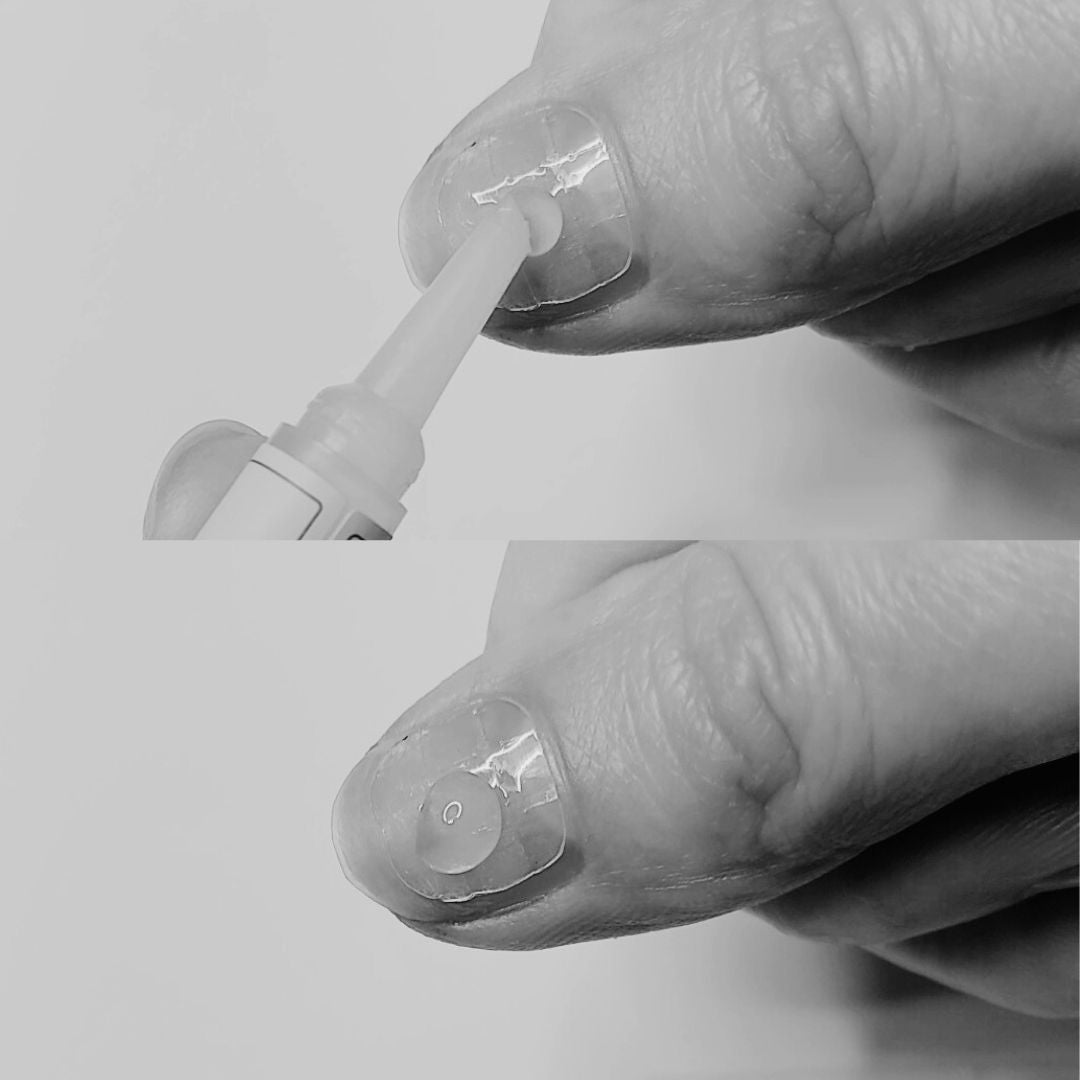
Step 4 | Glue
4a. Prepare the magic towel by applying enough water for it to expand, ring out any excess water. The towel should be damp not wet. (This will be used to remove excess glue).
4b. Apply a dot of glue to the center of your natural nail (make sure it's enough to cover the entire surface of your nail when the press on is applied).
4c. Place the press on nail onto your nail and press firmly, hold for 15+ seconds.
4d. Wipe away any excess glue with the magic towel.
Wait at least 1 hour before getting hands wet.
Glue will hold for 1-2 weeks, sometimes longer depending on care and application.
Longevity: 1-3 days per use
Step 4 | Adhesive Tabs
4a. Peel the adhesive tab from the sheet.
4b. Place the tab firmly onto the backside of the false nail with the pull-tab facing towards the cuticle.
4c. Push around on the tab to remove the air bubbles between the tab and the nail.
4d. Peel the protective layer from the tab.
4e. Apply the press on nail firmly onto your natural nail, pressing on different areas of the nail until it is securely attached.
Wait at least 2 hours before getting hands wet.
Adhesive tabs will hold for 1-3 days, sometimes longer depending on care and application.
Questions?
Please email us at info@fancybnails.com